Once you log in, go to "More", then "Users".

If you're adding a new person, click "Create New". Otherwise to edit an existing user, click the editing wrench.

Enter the user's name and email address. The second email box is the email address that should be used for reminders such as a stat being entered in a non-viable range, reminders that stats have not been entered, etc.

Primary Graph Symbol:
Use this setting to override the standard diamond on graphs and replace with the symbol selected.


Here I've replaced the diamonds with hearts.
Use Thick Lines on Graphs:
This creates a thick heavy line on the graphs.


Outline Graph Labels For Clarity:
This setting displays the values on the graph with a small white outline to set it aside from the other lines on the screen.


Use Old Style, Non-zoomable Graphs:
This setting shouldn't be needed. It's here for old users of our original system and those with very old browsers. New users should have no need to change it.
Finally, set the user's system permissions.
Once you're done, click the "Save" button. The deactivate button will not delete a user from the company, but they will no longer be able to log in or enter stats.
That covers the Basic Information tab. The other tabs are not required, but provide you with further information about the user and their access.
Statistics:
This tab shows you which stats the user has access to and what that access entails. An x in the section means the user doesn't have that level of access for this statistic.


Groups:
Similarly, this tab shows you which groups the user has access to, and what that access entails.

Trophies:
As you use the system, you can earn trophies for accessing new areas, creating calculations, making a group, etc. The more trophies you achieve the easier the system will be to use. A blue user next to the icon indicates the user has achieved the trophy. To find out what the trophy indicates, hover over the icon.

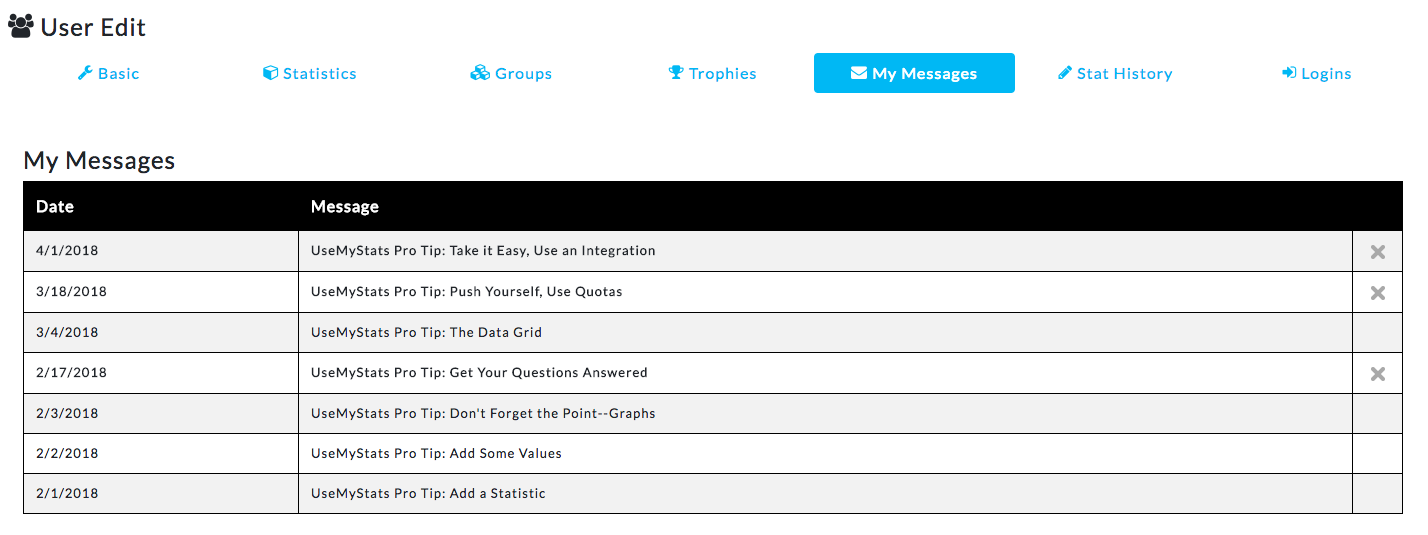
My Messages:

Now you can add, remove, or edit your users as much as you need!
